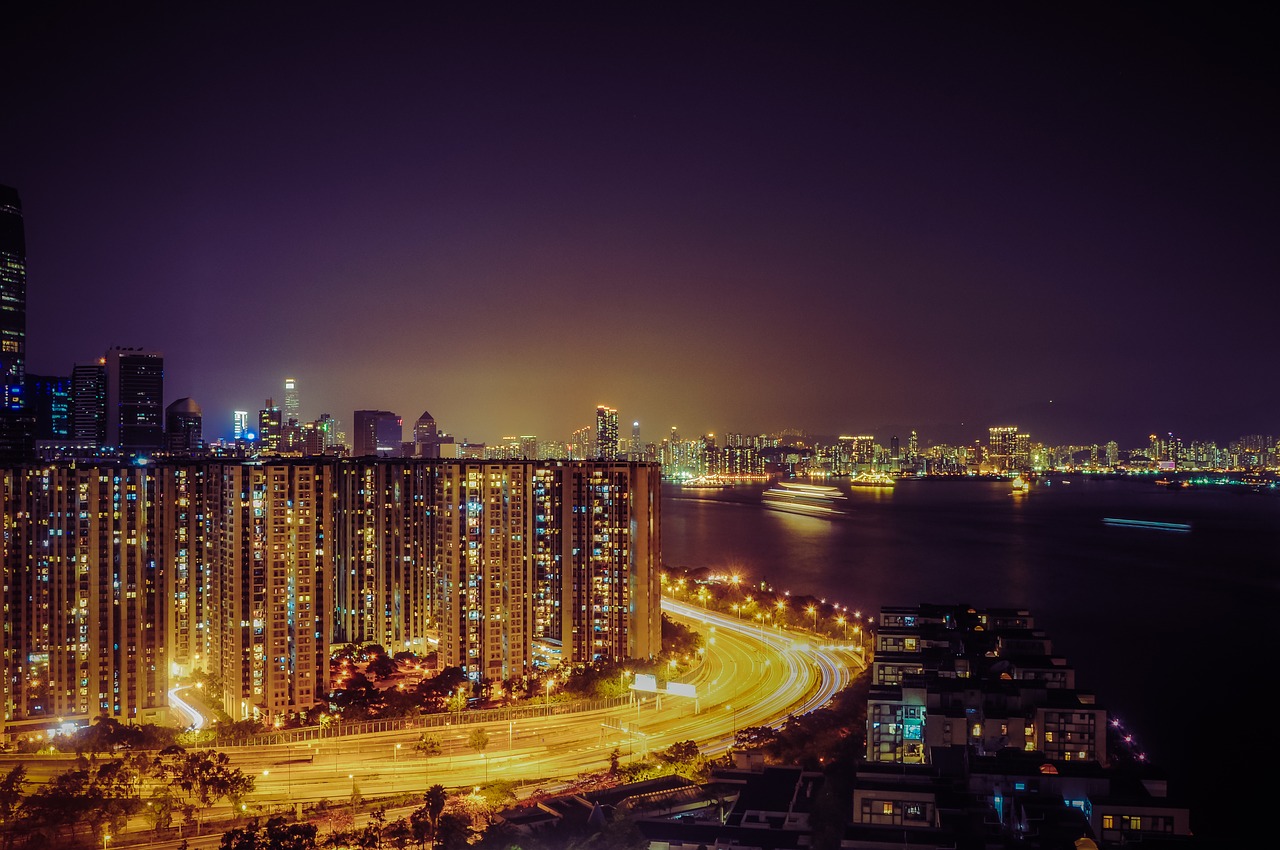
Time lapse is the shooting of videos by compiling a set of pictures shot one after another on a set interval. In time lapse, videos show movements that takes hours to take place in just a few seconds or minutes. Creating a video of the same length would consume more storage space than several photos. Another reason time-lapse videos is preferred is because not all cameras and smartphones have low resolution in contrast with photos so time lapse would result to a high resolution video.
Now that you have a little background about time lapse videos, let us now go to the steps on how to make time lapse videos.
Equipment
The good news is that you don’t need special equipment to create time-lapse videos. You just need the following:
1. DSLR, SLR, smartphone, or time-lapse capable cameras
2. Intervalometer (some DSLRs or SLRs come with this) or laptop
3. Tripod. This is not necessary but it can help deliver smooth and professional videos
Using your camera or smartphone, take multiple pictures of a similar subject. Make sure that your iPhone or camera is positioned in the same way or you will get different angles. This means you won’t get your desired result.
When you have gathered enough pictures to capture what you are aiming for, you need to combine all the pictures together to create the final time-lapse video. You can download GlueMotion, a macOS app designed for time-lapse video editing. The app also allows you to deflicker and assemble sequences of images into time-lapse movies.
With GlueMotion, you can crop, rotate, flip, or make color adjustments of your photos. In just a matter of minutes, you have the perfect time-lapse video.
Choose the interval
Intervals represent the flow of your video. It’s all about “feeling” the scene and experimenting with the flow. To determine the right interval for your video, you will need to analyze the frequency of scene changes within the setting.
You also need to choose the number of frames you will use. A 1-second time-lapse video will have 25 frames on the average. So a 5-second video will require 125 frames. Setting custom intervals will change the number of frames.
Control speed
The problem with the iPhone camera app is that it has no speed control for videos. It shoots videos at the same speed. You can only change the speed when editing the video. To make it easier to control the time-lapse speed, you need to download the Hyperlapse app.
Once you are done shooting the video, you can change the speed of the time-lapse video from the slider. Another app that will let you control the speed of your time-lapse is the OSnap app. You can download the free or the Pro version. The latter comes with the ability to speed up and slow down filming, record a voiceover, or film in high resolution.
Add sound
To add audio, you can load your video in iMovie. Using video editing software, you can personalize your sound. Here are the steps on how to customize your sound:
1. Click on Audio in the top left corner
2. Toggle between Effects and Theme music or import tracks from your PC
3. After choosing an audio clip to your timeline or select a custom range if you want to add certain parts of your clip.
Alternatively, you can customize your video audio using an editing tool like Capto. With the app, you can adjust volume, mute, or set an audio fade in and out.
Turning video into a time-lapse
Creating a time-lapse video can be daunting. However, with a video editor like Adobe Premiere, you can create stunning time-lapse videos in a jiffy. Here’s how:
1. Import your video and open the Effects panel on the right
2. Click on Posterize time and drag into your timeline to customize the number of frames
3. Adjust the rate from the default 24 frames per second.
4. For speed control, right-click on the video and choose speed/duration. Increase the speed several-fold to change the frame speed at a standard rate.
Mistakes to avoid in creating time-lapse photography
In order to produce great time-lapse videos, you need to avoid the following mistakes:
- Not everything should move. Choose an object or set of objects that you want to speed up. You cannot make the movement of the background synchronize with the foreground.
- Apply filters. Filters in a slow time-lapse can make a huge difference. Experiment with the effects before finalizing the snaps for your video
- Remove the flicker. Flickers can affect the coherence of your time-lapse. GlueMotion can automatically remove the flicker for you.
Making time-lapse videos can be difficult at first. These tips from thetechblock.com can help you create time-lapse videos like a professional. It can be a great hobby and will help teach you about the basics of using a camera.