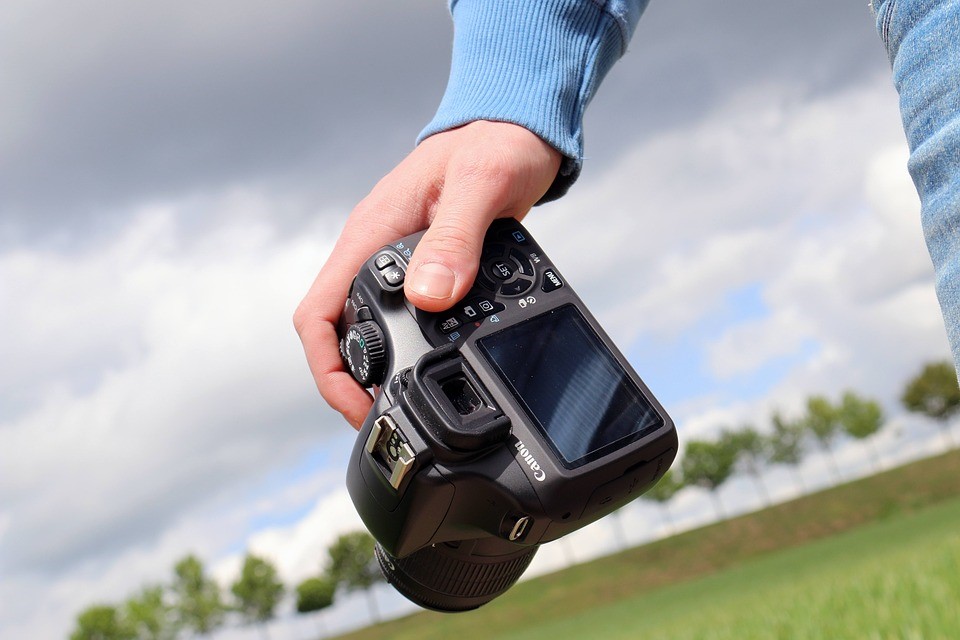
Digital photography may confuse most with its wide selection of settings and specifications from lens specs to camera qualities. A lot of people have opted to shy away from going the extra mile of getting a DSLR and have decided to make do with the highest quality camera phone on the market. But nothing beats knowing how to use the real deal.
Learning to master the devices takes a while to learn, but it is rewarding to master. If you’ve ever asked yourself: “Where can I find photography courses near me In the UK?” There are talented and local professionals willing to teach you the basics and a few advanced courses as well. If you’re concerned about getting in a class with little to no knowledge of what you’re doing, here is an overview of the three main components: Shutter Speed, Aperture, and ISO.
Shutter Speed
It’s best that you have a simple understanding of how your camera works. Though it can be challenging at first, it’s pretty simple how shutter speed can be understood. As a camera has an ‘eye’, the shutter speed regulates how long it remains open while taking a shot. The longer that the shutter is open, the more light gets through. The shutter speed not only regulates the amount of light that gets in the picture but also at what rate the images are taken; this is where blurry shots can often come from whether intentionally or unintentionally. It’s great to have higher settings on shutter speed to take a picture of objects or subjects in motion, but it can also work to your advantage to have low settings if you want to emphasise the movement and light instead of the subject itself.
Aperture
It might be another one of those techy terms that youngsters are more familiar with, but an aperture can be likened to a light modifier. If you’ve ever handled a microscope in your early years, the camera’s aperture can be similar to a microscopes ‘diaphragm. Changes in this settingallow you to set your focus on a subject depending on how far it is from your camera’s screen. It will enable you to emphasise the subject of your choosing. Try having a still shot mounted on a tripod and adjusting the aperture on various parts of the photo without moving to see how the effects create backgrounds and foregrounds. The depth of your picture is affected by what your shot’s focus on.
ISO
ISO settings are limited to the camera’s number. The lower the camera’s ISO setting is, the less sensitive it will be in taking darker shots. The opposite is true where a higher ISO rating is better suited for darker shots. Adjusting your ISO allows you to change the range of colours that can be seen in the picture as it directly affects the light sensitivity of the image. A higher ISO in natural daylight could result in grainy images.
